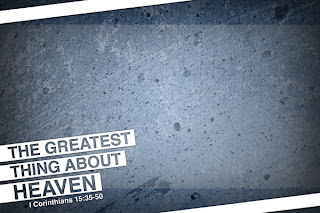
 Have you ever made a design that you thought was going to be great, but then when you printed the file it came out all pixelated and blurry? Do remember being disappointed because it did not look as sharp as you had hoped it would be? This post seeks to help you avoid the woes of printing.
The All Important Rule
Any time you design a logo or poster for your church, make sure that
the file is large enough for what you want done. Do you want a large 40" x 100" banner showcasing your church building project progress? Don't
make the design on an 8.5" x 11" size document. When you go to print,
the file will have to scale almost 10x it's original creation size and
that will skew your design.
Notice the examples below:
4x6 Slide
40x60 Slide
Another factor to consider is the files DPI, or Dots Per Inch. The average High Resolution image is about 300 DPI. If you are designing in Photoshop, you can set this yourself when you create a new document. If the file is originally a low DPI file (i.e. 72 DPI, the web standard), then your file will look like the picture above after scaling it two inches, let alone all the way up to 40"x60". The higher your DPI, the more pixels that are crammed into a square inch space. The more pixels in an each means it will stay clearer longer the larger you scale it.
Click
on the 4x6 image. It's small, because that's the size it was created,
and it's very clear. Now suppose I want that to be a super-size poster
in my church. Click on 40x60 image above to see it full scale and notice
how grainy and how bad the quality is. That is what happens when you
scale your small raster to a larger size. For sake of being clear, this
is what a portion of the file would look like printed out:
Does that make sense? Therefore, if you plan to create something like this for your church, make sure the file size is the size of the desired print (i.e. 40"x60") and that your DPI is high enough for good quality (usually 300 DPI).
Okay, now let's talk about a potential solution.
I recently posted about the difference between Rasters and Vectors. Vectors prevent this problem. I said potential, though, because the image above cannot be a vectorsince it contains a picture in the background and all pictures are rasters, that is they are made up of pixels.
However, using a vector allows you to take that small design and scale it to any size without any loss of information or clarity. This is the wonder of the vector image. Take a look at the examples below.
Screen Shot of 17" x 5"
Screen Shot of 70" x 18"
Click on each document to view them full size. You'll notice that there isn't a bit of difference in quality. That's the way vector works. Again, to full illustrate, take a look at a zoomed in shot of the 70" file below:
No pixelation. No blurriness. Only a beautifully clear logo.
Summary
All logos should be done in a vector format (Illustrator)
All pictures are raster because they're made of pixels
Make sure your file is large enough for your desired print
Use a High resolution DPI for printing
Can you think of any other printing tips regarding file size, raster/vector, or DPI that I did not mention? Feel free to share them in the comments box.

 12:29 PM
 T.L. Branson


 Posted in:


0 comments:
Post a Comment